Jenkins实践
title: Jenkins实践 date: 2025-12-19 20:23:06 permalink: /pages/4/ categories:
- DevOps tags:
- DevOps author: name: The Fool link: https://github.com/zsan1229
# Jenkins实践
# java-vue项目
jdk-8 maven-3.8.2 node-16 nginx这些工具自己安装即可。
github上找的开源项目:https://github.com/YXJ2018/SpringBoot-Vue-OnlineExam
sudo yum install mariadb mariadb-server
sudo systemctl start mariadb
sudo systemctl enable mariadb
# 安全初始化脚本
sudo mysql_secure_installation
sudo yum install git -y
sudo git clone https://github.com/YXJ2018/SpringBoot-Vue-OnlineExam.git
2
3
4
5
6
7
8
mysql -uroot -p
输入密码后
CREATE DATABASE exam CHARACTER SET utf8mb4 COLLATE utf8mb4_unicode_ci;
EXIT;
# 初始化数据库
sudo mysql -u root exam < sql/exam.sql
2
3
4
然后在项目SpringBoot-Vue-OnlineExam/springboot/src/main/resources下找到application.properties配置文件;改为自己的信息

然后在java项目目录下
mvn clean package
2026-03-23 14:09:43.962 ERROR 2945 --- [eate-1416097444] com.alibaba.druid.pool.DruidDataSource   : create connection SQLException, url: jdbc:mysql://192.168.187.131:3306/exam?useUnicode=true&characterEncoding=UTF-8&useSSL=false&serverTimezone=UTC, errorCode 1130, state HY000

java.sql.SQLException: null,  message from server: "Host '192.168.187.100' is not allowed to connect to this MariaDB server"
2
3
提示不允许远程链接
-- 切换到 mysql 库
USE mysql;

-- 赋权
GRANT ALL PRIVILEGES ON *.* TO 'root'@'%' IDENTIFIED BY '您的密码' WITH GRANT OPTION;

-- 刷新权限使其立即生效
FLUSH PRIVILEGES;

-- 退出
EXIT;
2
3
4
5
6
7
8
9
10
11
然后在项目下target目录下会生成一个jar包
java -jar exam-0.0.1-SNAPSHOT.jar
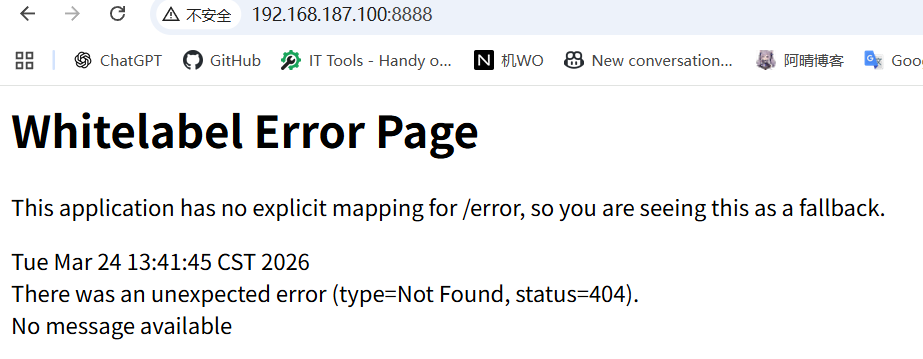
这样表示后端已经启动,404因为前端还未启动
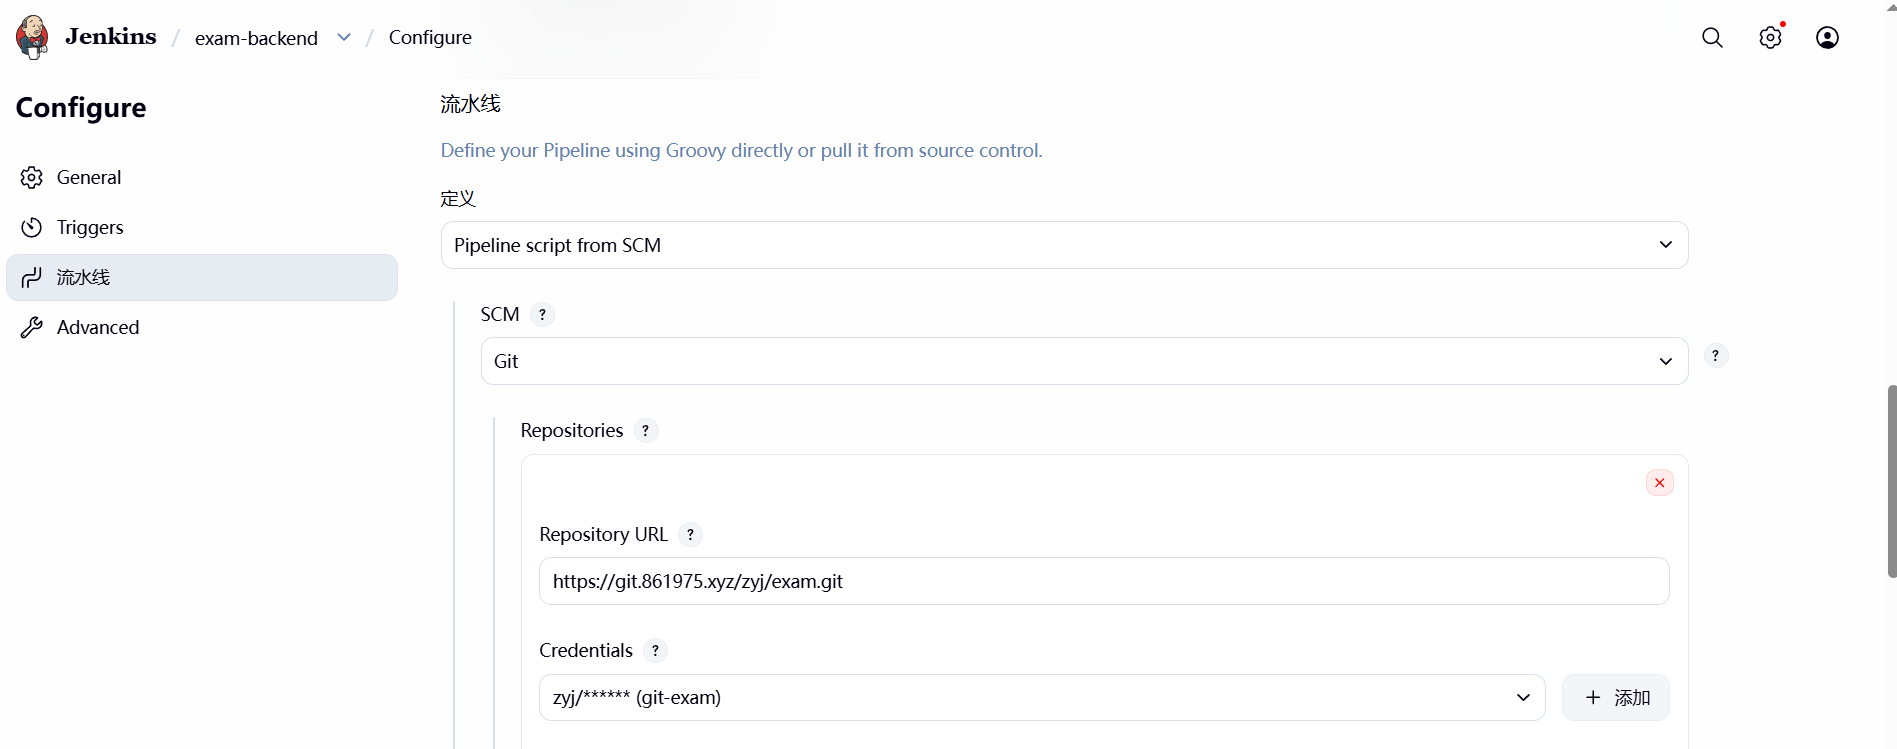
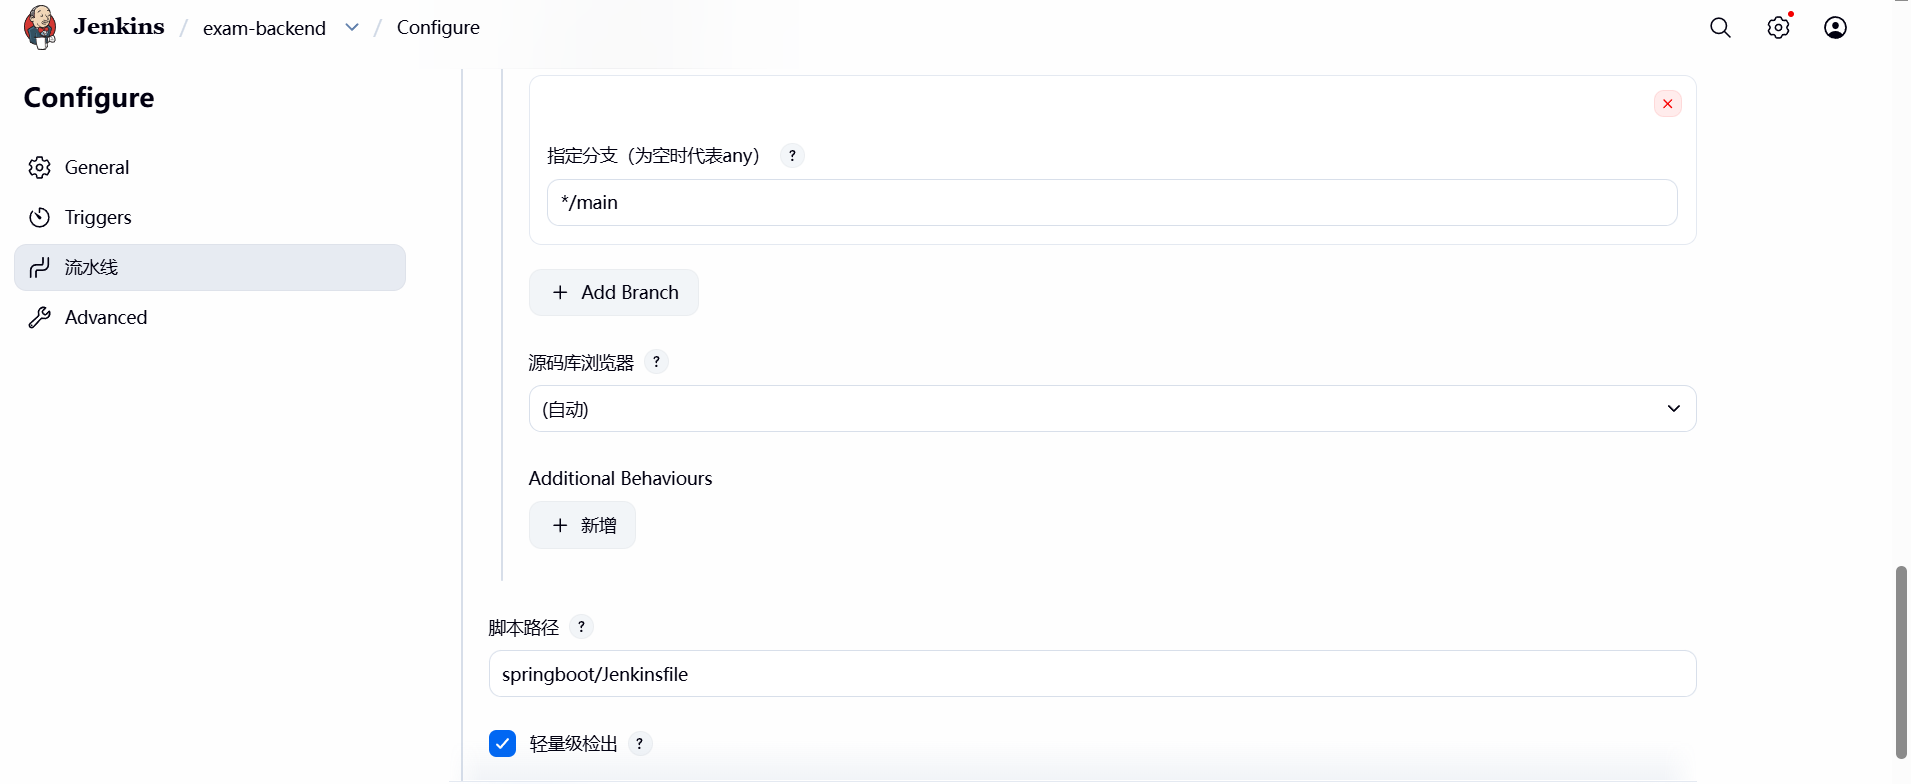
# exam-backend
先安装jenkins插件**Docker Pipeline**
新建流水线,配置如下
pipeline {
    agent any
    environment {
        DOCKER_USER = 'devopszyj'
        DOCKER_CRED_ID = 'DockerHub'
        IMAGE_NAME = 'exam'
        VERSION = 'v1'
    }
    stages {
        stage('Docker Build') {
            steps {
                dir('springboot') {
                    sh "docker build -t ${IMAGE_NAME} ."
                }
            }
        }
        stage('Docker Tag and Push') {
            steps {
                withDockerRegistry(credentialsId: "${DOCKER_CRED_ID}", url: 'https://index.docker.io/v1/') {
                    sh "docker tag ${IMAGE_NAME} ${DOCKER_USER}/${IMAGE_NAME}:${VERSION}"
                    sh "docker push ${DOCKER_USER}/${IMAGE_NAME}:${VERSION}"
                }
            }
        }
        stage('Deploy') {
            steps {
                sshPublisher(publishers: [sshPublisherDesc(configName: 'Test', transfers: [sshTransfer(cleanRemote: false, excludes: '', execCommand: '''docker pull devopszyj/exam:v1
docker run -d -it -p 8888:8888 devopszyj/exam:v1''', execTimeout: 120000, flatten: false, makeEmptyDirs: false, noDefaultExcludes: false, patternSeparator: '[, ]+', remoteDirectory: '', remoteDirectorySDF: false, removePrefix: '', sourceFiles: '')], usePromotionTimestamp: false, useWorkspaceInPromotion: false, verbose: false)])
            }
        }
    }
}
2
3
4
5
6
7
8
9
10
11
12
13
14
15
16
17
18
19
20
21
22
23
24
25
26
27
28
29
30
31
32
33
可能会遇到如下情况这是因为:
运行 Jenkins 的用户(通常是 jenkins)没有权限访问 Docker 守护进程的套接字文件 (/var/run/docker.sock)。 默认情况下,只有 root 用户和 docker 用户组的成员才能操作 Docker。
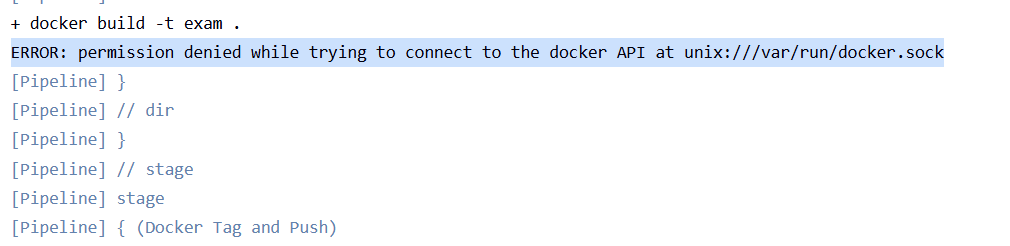
#将 jenkins 用户加入 docker 用户组
usermod -aG docker jenkins
systemctl restart jenkins
2
3
# exam-frontend
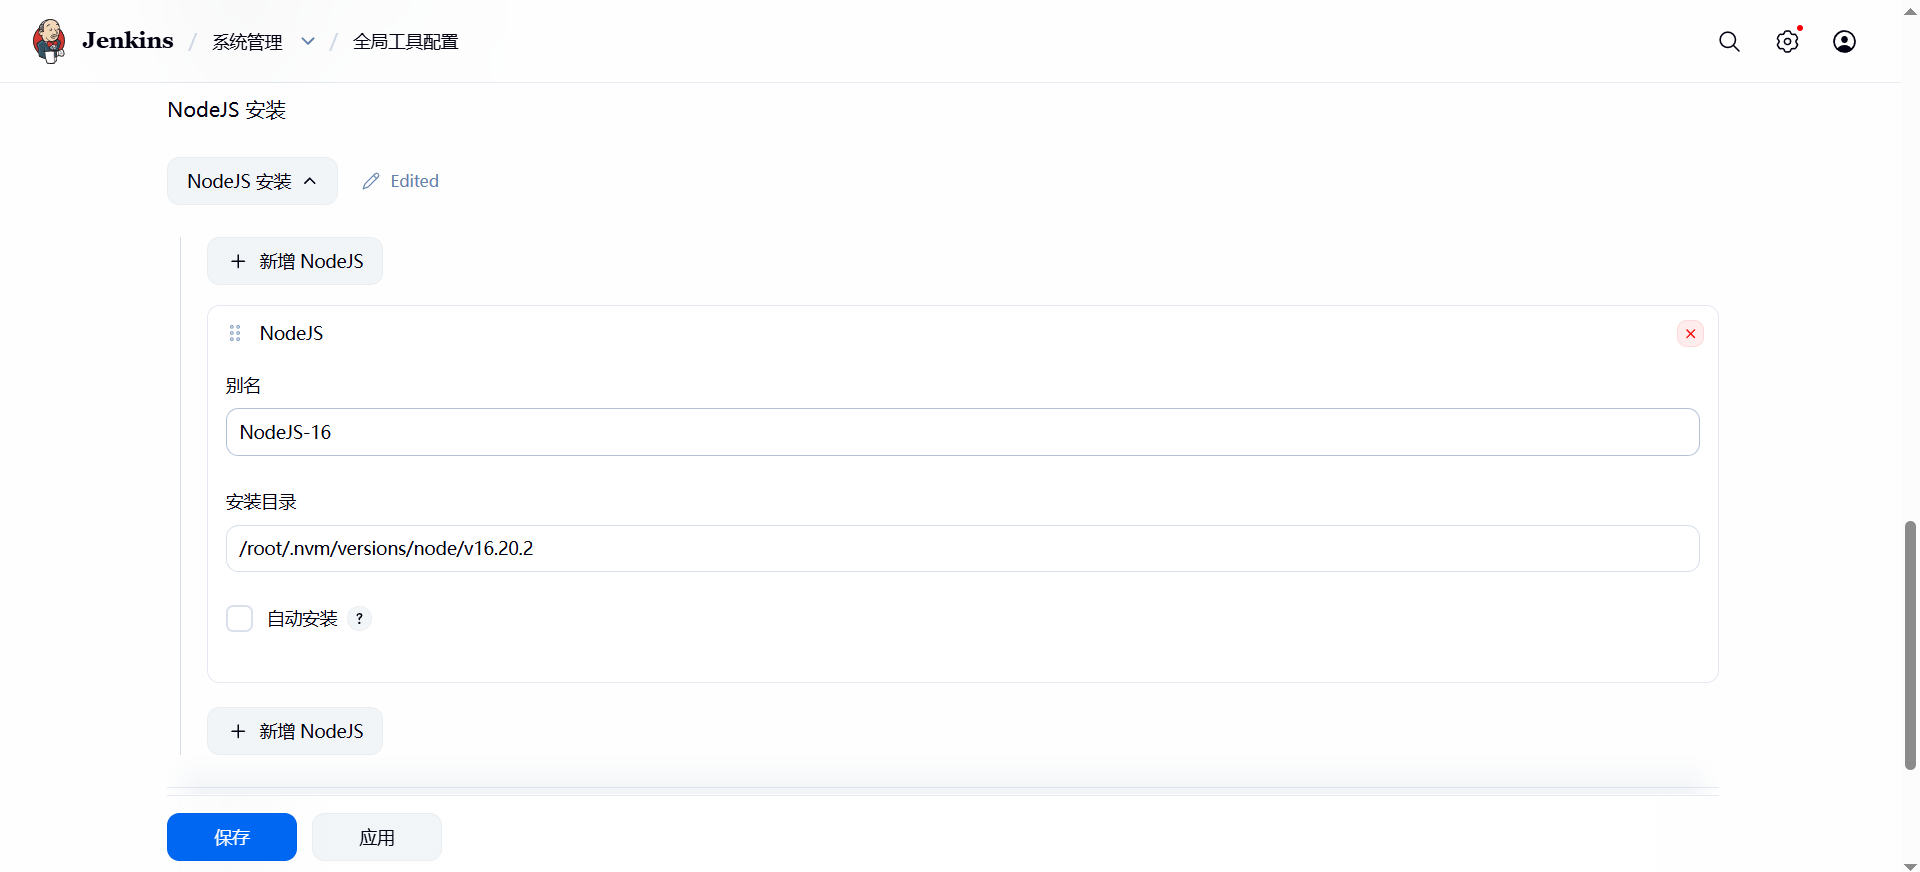
先安装NodeJS插件,然后进行全局工具配置
pipeline {
    agent any
	tools {
		nodejs "NodeJS-16"
	}
    stages {
        stage('build') {
            steps {
                dir('exam') {
                    sh "npm install --force"
                    sh "npm run build"
                }
            }
        }
        stage('deploy') {
            steps {
					sshPublisher(publishers: [sshPublisherDesc(configName: 'Test', transfers: [sshTransfer(cleanRemote: false, excludes: '', execCommand: 'chmod -R 755 /root/exam-frontend/dist', execTimeout: 120000, flatten: false, makeEmptyDirs: false, noDefaultExcludes: false, patternSeparator: '[, ]+', remoteDirectory: 'exam-frontend/dist/', remoteDirectorySDF: false, removePrefix: 'exam/dist/', sourceFiles: 'exam/dist/')], usePromotionTimestamp: false, useWorkspaceInPromotion: false, verbose: false)])            }
        }
    }
}
2
3
4
5
6
7
8
9
10
11
12
13
14
15
16
17
18
19
20
21
如果不能访问出现
2026/03/25 14:59:25 [crit] 4405#4405: *1952 connect() to 127.0.0.1:8888 failed (13: Permission denied) while connecting to upstream, client: 192.168.187.1, server: localhost, request: "POST /api/login HTTP/1.1", upstream: "http://127.0.0.1:8888/login", host: "192.168.187.100", referrer: "http://192.168.187.100/"
# 先查看防火墙是否放行端口
setenforce 0
2
nginx配置文件内容如下
server {
    listen 80;
    server_name localhost 192.168.187.100;

    root /root/exam-frontend/dist;
    index index.html;

    location / {
        try_files $uri $uri/ /index.html;
    }

    location /api/ {

        proxy_pass http://127.0.0.1:8888/;
        proxy_set_header Host $host;
        proxy_set_header X-Real-IP $remote_addr;
        proxy_set_header X-Forwarded-For $proxy_add_x_forwarded_for;

        proxy_connect_timeout 60s;
        proxy_read_timeout 60s;
    }
}
2
3
4
5
6
7
8
9
10
11
12
13
14
15
16
17
18
19
20
21
22
23
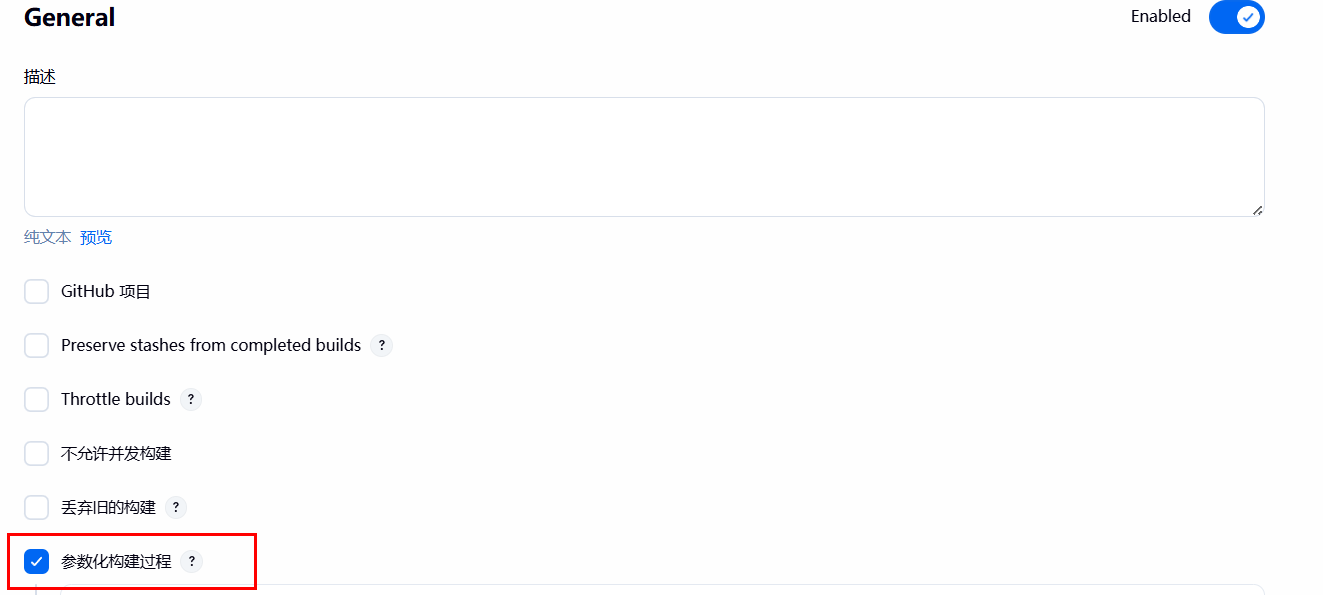
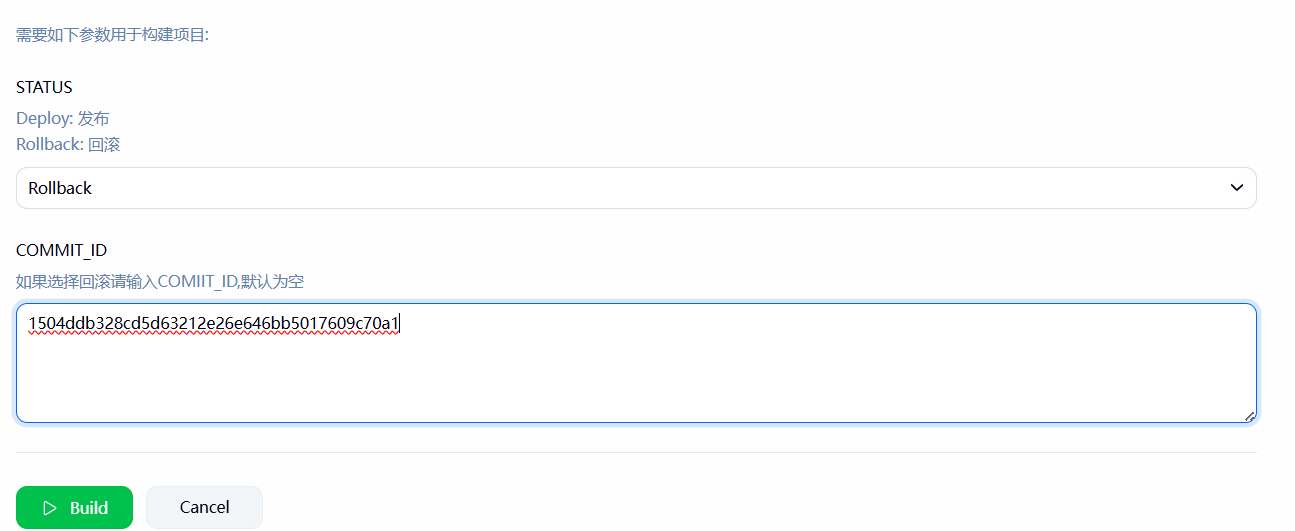
# jenkins回滚项目
回滚的原理就是根据代码的commit_id进行项目的回滚,首先创建一个pipeline项目,然后添加参数
选择选项参数,内容如下。
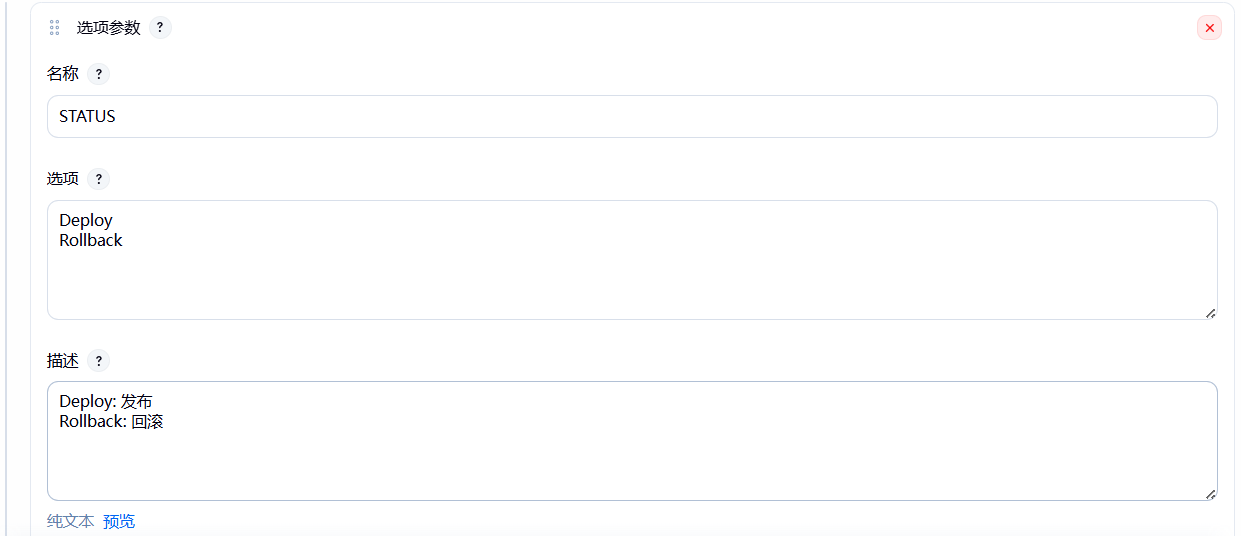
然后在添加一个文本参数
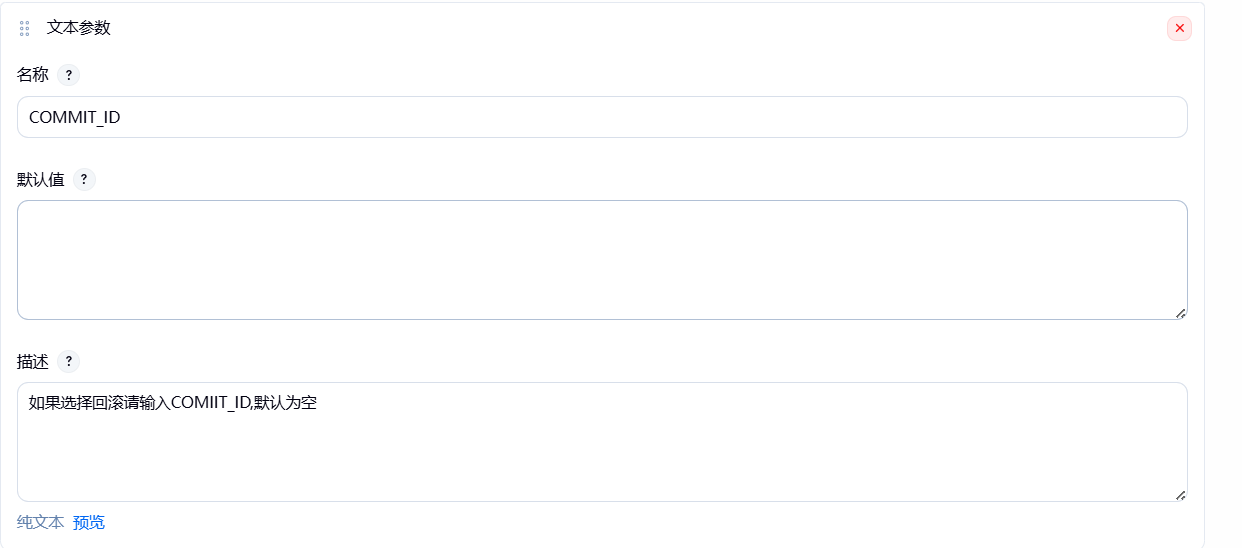
pipeline如下
pipeline {
    agent { label 'jenkins-02' }
    tools {
        maven 'maven3'  // 使用你在 Jenkins 配置的 Maven 名称
    }
    stages {
        stage('Git pull') {
            steps {
               script {
                   //在拉代码之前,使用内置命令彻底强制清空当前工作空间
                   cleanWs()
                   //根据选项参数,判断时发布项目,还是回滚
                    if (params.STATUS == 'Deploy') {
                        git branch: 'main', credentialsId: 'GitLab', url: 'https://git.861975.xyz/zyj/demo.git'
                    } else if (params.STATUS == 'Rollback') {
                        git branch: "main", credentialsId: 'GitLab', url: 'https://git.861975.xyz/zyj/demo.git'
                        sh """
                        git checkout ${params.COMMIT_ID}
                        """
                    } else {
                        echo "发布或回滚参数错误....."
                    }
                }
            }
        }
		stage('Build') {
				steps {
				sh 'mvn clean package'
				}
			}

        stage('Deploy') {
            steps{
            sshPublisher(publishers: [sshPublisherDesc(configName: 'Test', transfers: [sshTransfer(cleanRemote: false, excludes: '', execCommand: '''export BUILD_ID=dontKillMe
PID=$(ps -ef | grep java | grep demo | grep -v grep | awk '{print $2}')
if [ -n "$PID" ];then
	echo "找到正在运行的进程 PID: ${PID},准备停止..."
	kill -9 "${PID}"
	sleep 5
else
	echo "没有找到正在运行的 demo 进程"
fi
			nohup java -jar /root/jenkins/demo*.jar >> /root/jenkins/log.out 2>&1 &''', execTimeout: 120000, flatten: false, makeEmptyDirs: false, noDefaultExcludes: false, patternSeparator: '[, ]+', remoteDirectory: '/jenkins', remoteDirectorySDF: false, removePrefix: '/target', sourceFiles: '**/demo*.jar')], usePromotionTimestamp: false, useWorkspaceInPromotion: false, verbose: true)])
                }
            }
    }
}
2
3
4
5
6
7
8
9
10
11
12
13
14
15
16
17
18
19
20
21
22
23
24
25
26
27
28
29
30
31
32
33
34
35
36
37
38
39
40
41
42
43
44
45
46
47
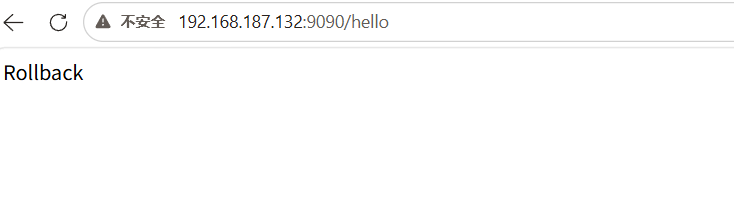
构建后可以看项目已经回滚了。
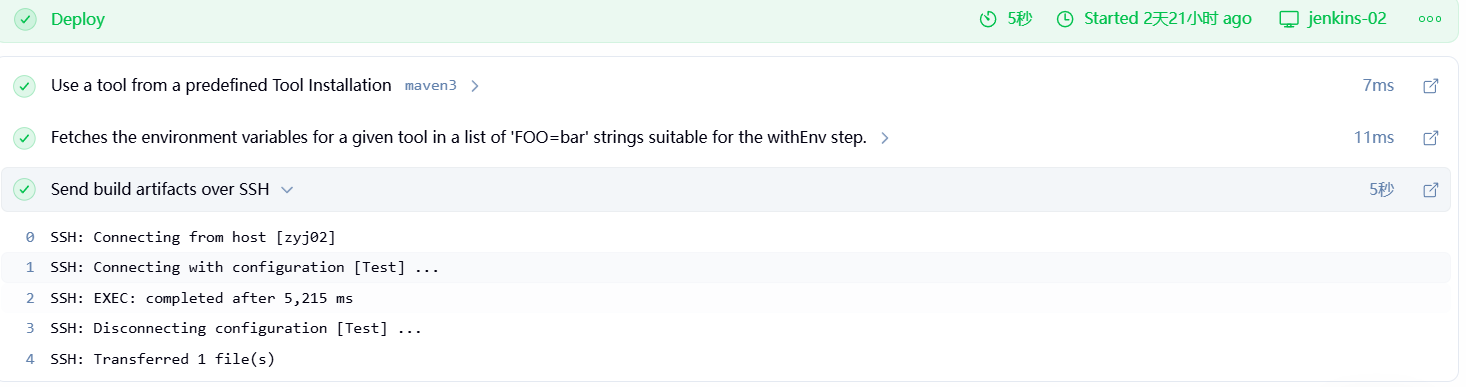
# tips
如果用的是sshPublisher这个插件的话,建议在pipeline中把verbose: true这个参数改为true。根据流水线语法生成的默认问false。
设置为true后可以查看在远程机器上的命令执行日志。

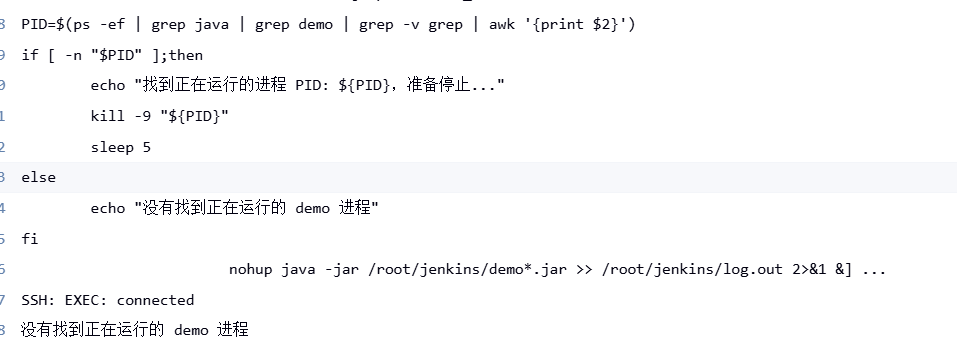
如果不设置为true默认就是这样的。